User Guide
Handy tips for content editors.
- Introduction
- Technical
- Log in screen
- Opening Folders
- Updating a page
- Adding a New Page
- Creating headings
- Adding a link to the navigation
- Uploading documents
- Linking to a page on your site
- Linking to a document or file
- Moving a Page to a different folder
- How to Withdraw a Page
- How to Delete a page
1. Introduction
This Content Control Manual gives you a step-by-step guide on how to update your website.
NB: Some of the screenshots used to illustrate this document are taken from other websites but the processes illustrated are exactly the same.
2. Technical Requirements
- Content Control has been designed to run on:
- PCs using internet browsers Internet Explorer 5.5/6.x, Mozilla or Firefox or better
- Macs using internet browsers Mozilla or Firefox
- Content Control looks best on a screen with a resolution of 1024 x 768 pixels or more.
- Please note, to use Content Control:
- JavaScript must be enabled
- Pop-up blockers must be disabled
- Proxy servers must be set to exclude content control from cache
- Content Control is what's known as a 'transactional system', like an online shop or airline booking system. That means you should avoid using your browser’s 'Back' and 'Forward' buttons and use Content Control's own icons to move around the system instead.
3. Log in screen
To access live back end Content Control, go to the following web address (URL):
http://www.yourwebsite.com/ccc/client
The live front end site is at:
http://www.yourwebsite.com/
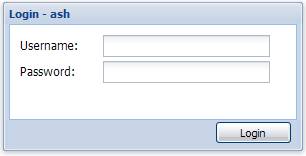
This will take you to your login screen (see below)
Enter your username and password, and then click the 'Login' button.
Once you've logged in, you'll see the Main Menu.
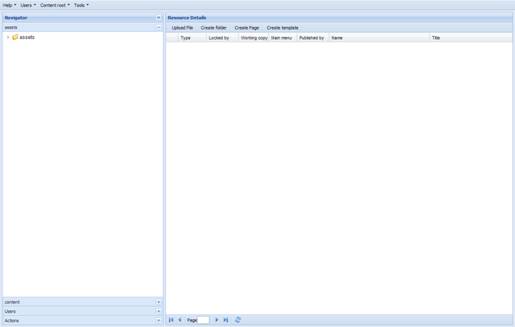
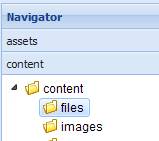
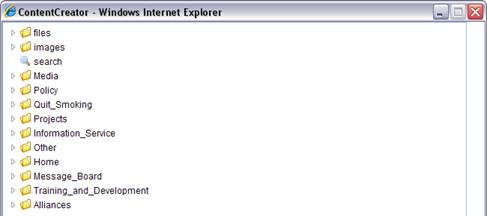
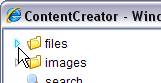
- To see the content for the website, under the left-hand 'Navigator' panel click the 'content' tab
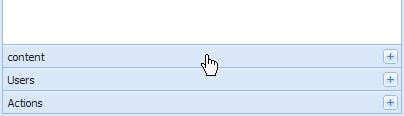
- The 'content' folder contains all the information on the site.
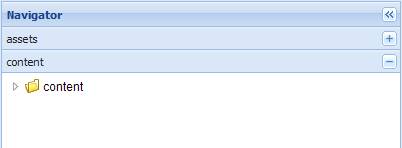
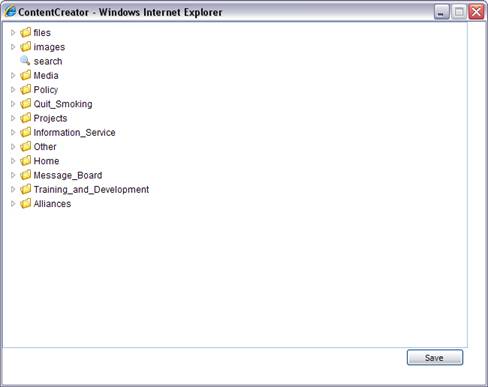
- To open folders in the navigator, click on the small arrow on the left.

- You'll see that the structure of your website is reflected in Content Control.
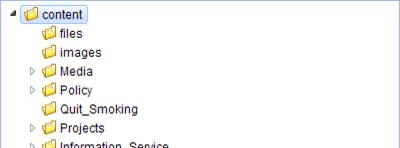
- Under the 'Navigator' panel each section is represented by a Folder icon -

4. Opening Folders
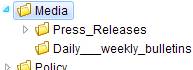
You'll see that the structure of your website is reflected in Content Control. Each section of the front end of the website has a corresponding folder at the back end of Content Control, with its own sub-folders and pages.
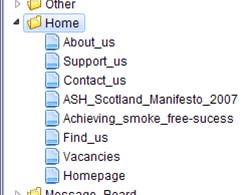
- You can open folders in the 'Navigator' panel by clicking on the small arrows on the left.
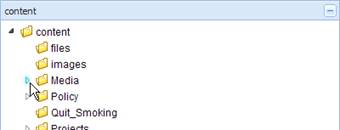
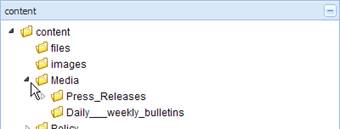
- If there are sub-folders, these may be opened in the same way.
- Then click on the folder itself to see the contents within.
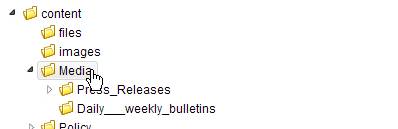
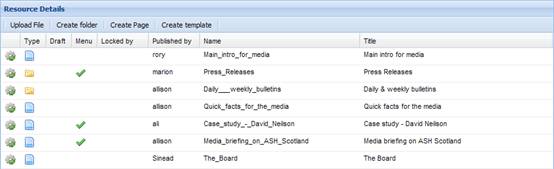
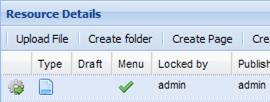
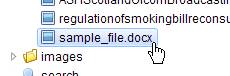
- The list of files and folders will be displayed under 'Resource Details'.
5. Updating a page
- Navigate to the Folder which contains the page you want to update. Click on the small arrows until you see the page in the 'Resource Details' screen.
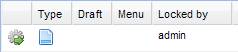
- Under the 'Resource Details' panel, folders are represented by the following icon -

- Pages are represented by this icon -

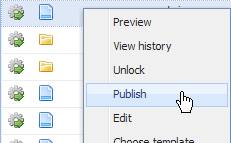
- To edit a file or resource you need to open the dropdown menu.
- You can see the menu in two ways:
- Click on the
 icon for the file you want to edit
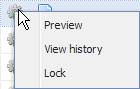
- Right-click anywhere on the page details
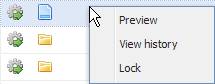
- Click on the
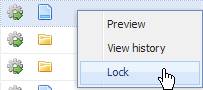
- Once you have opened the menu click 'Lock' so no one else can edit the page at the same time.
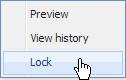
- The page will be locked out in your name.
- Now when you access the dropdown again you have more options.
- Access the dropdown menu again and choose 'Edit'.
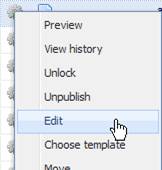
- The Content Template will open in a window called 'Update Page'.
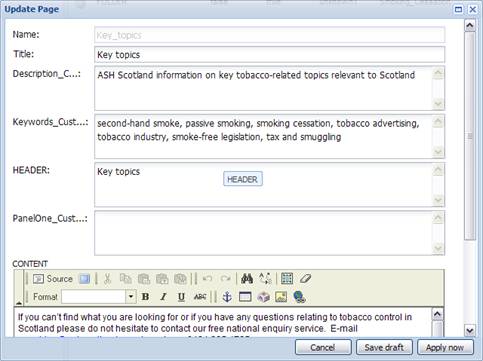
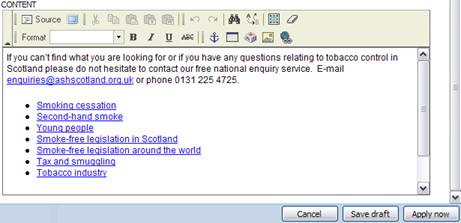
- Scroll down to the 'CONTENT' panel, where you can edit your content.
- When you've made your changes, click on the 'Apply now'
 button.
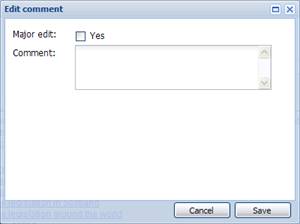
 - The 'Edit comment' window will appear. If you have made a major edit click the 'Yes' check box and enter a comment describing what you have changed.
- Once you have finished click the 'Save'
 button.
The changes are now live on your website.
6. Adding a New Page
- Navigate to the Folder where you want the new page to sit.
- Follow the steps as detailed in '4. Opening Folders' until you are at the correct level in the 'content' screen.
- Click on the ‘Create Page’ button in the ‘Resource Details’ screen.
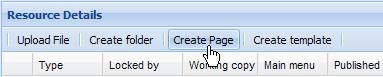
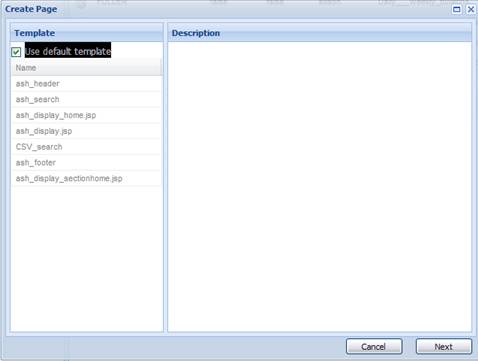
- A blank window called 'Create Page' will display, which you complete with your content.
- 'Use default template' is automatically selected. If you want to use a custom template you can un-tick the checkbox and click on a template from the list.
- Click the 'Next' button
 at the bottom right hand corner of the window to proceed.
- The next screen will appear where you can enter your content.
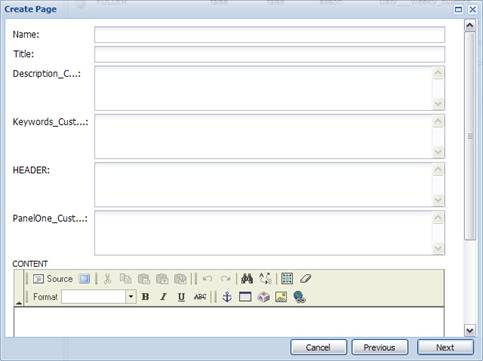
Complete the following fields
- Name (Type in the name of your new page in 'Name'.)
- Title (Type in the title of your new page in 'Title').

- CONTENT (Scroll down to the ‘CONTENT’ panel to add the content for the new page.)
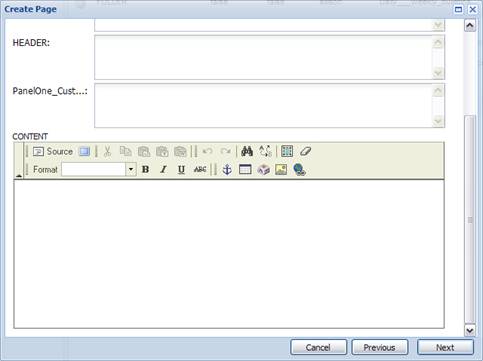
- Enter the text
To enter your text, either:
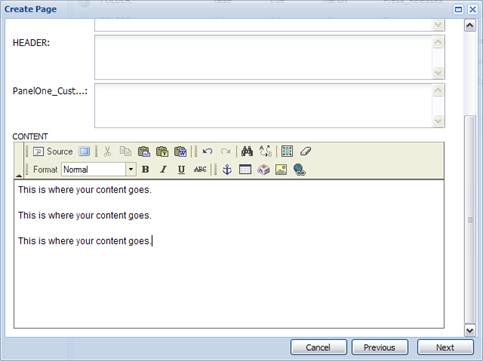
- Click into the Content’ panel and type in the text
- Copy and paste text from a Word doc into the panel – please copy your text into Notepad first to strip out any formatting, then copy and paste the ’clean’ into the content panel
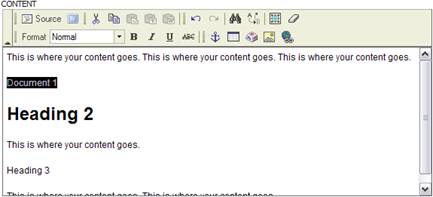
7. Creating headings
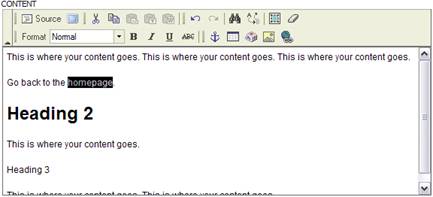
To format your text you should create headings and sub headings. The actual Heading for the page will be created from the HEADER panel (below), but you can also create sub-headings on your page.

Initial sub-headings should be Heading 2, then Heading 3, Heading 4 (this is for accessibility purposes so screen readers know they are reading a different style of heading indicating a break in the text)
How to create a heading
- Select the text you wish to be the heading.
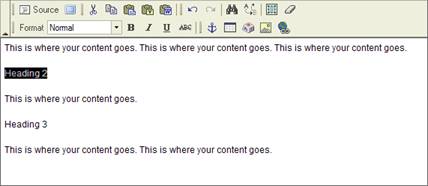
- Then select Heading 2, 3 or 4 from the dropdown menu on the left of the Content panel.
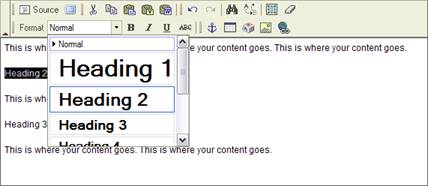
- Your heading has been created.

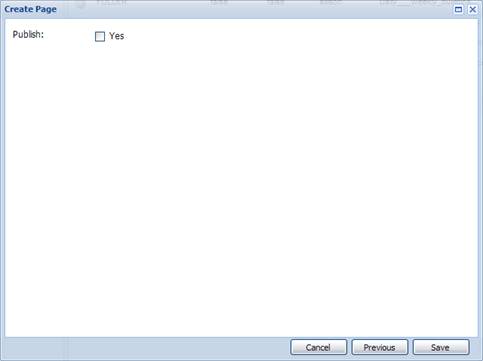
Save the page
When you've finished adding your page text, click on the 'Next' button.
If you want to make the page live straightaway you can do this by clicking the 'Yes' checkbox then the 'Save' button.
Preview the page
To preview the page before making it live click the 'Save' button. Your new page should be displayed in the 'Resource Details' list.
- Right click on the page to open the drop menu and then click ‘Preview.’
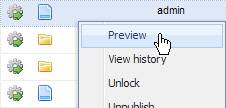
- The Preview window will appear.
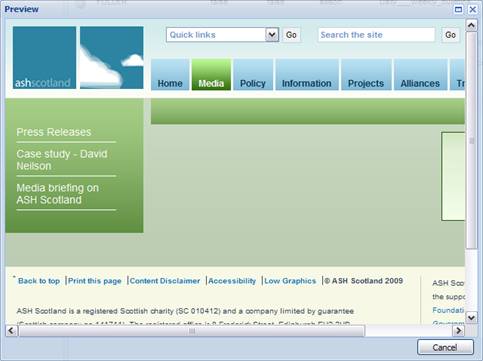
- The windows that appear in Content Control use the same standard commands such as move, drag and resize in Windows and Mac operating systems.
- You can click the Maximise/Minimise icon
 /
/ at the top right of the window to make the Preview full screen or windowed to give you a better view of the page.
 - When you are finished click the 'Cancel' button or the ‘Close’ icon
 .
.
Publish the page
- In the Resource window, open the menu for your new page then click 'Publish' to make it live.
Your changes are now live on your website. Check the front end of the site to see if you're happy with them.
Although you have created your new page, it is not linked from anywhere. You still need to add it to the navigation. Please follow the instructions in the next section below.
8. Adding a Link to the navigation
There are two sets of navigation on the site:
- Horizontal navigation - this contains the top level sections - you CANNOT update this

- Left hand navigation - this contains the sub sections - you CAN update this

Adding a link to the left hand navigation
- Once you've created your new page and published it, you need to add it to the navigation.
- Find the page you want to add and on the menu, select 'Lock'.
- Access the drop menu again and choose 'Add to main menu'.
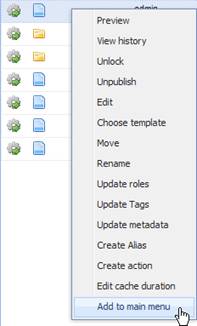
- A green tick under the 'Menu' column will appear to indicate that the page has been added to the navigation menu.
- A link to your new page will be added to the navigation menu.


9. Uploading documents
This function is used to upload any document you wish to attach to a page e.g. Word or PDF documents you want to link to.
- Save your document onto your computer or memory stick, etc. Rename it to something logical, if required.
- Click on the folder where you want your file to be uploaded. In this case choose the 'files' folder in the 'content' panel under 'Navigator'.
- Click on 'Upload file' in the 'Resource Details' bar of Content Control.
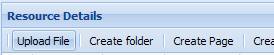
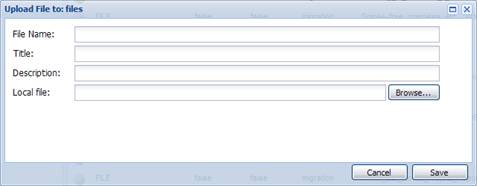
- The 'Upload file to' window should appear.
- Click on 'Browse'
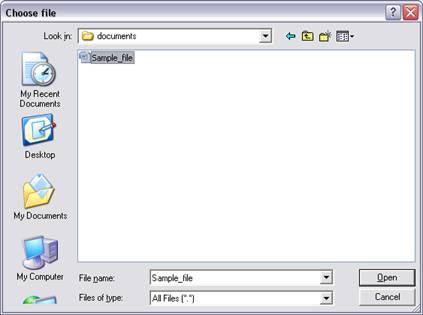
- Find your file from the 'Choose file' screen and left click on it and select 'Open'.
- Name your document using 'File Title' field.
TIP: Give it the same name as File Name (ensure you have saved the file with a logical name!) - Also enter a 'Title' and 'Description' for your file.
- Click 'Save'.
- Your file is now in the database, and ready to be linked to on a page.

10. Linking to a page on your site
- Find the page where you want to add a link.
- On the ‘Functions’ menu, select ‘Lock’ then ‘Edit’.
- Find the words you want to become the link.
- Highlight the text.
- Click on the world icon


- The file browser will appear.
- Click on the arrows to open the yellow folders.

- The folder contents will be displayed. Pages are shown as blue icons.
- Left click on the page you wish to link to – this will turn blue.

- Once you have done this click the
 button to create your link.
- Click the 'Apply now' button and then 'Save'
Your page link has been created.
11. Linking to a document or file
- Find the page where you want to add the file.
- On the drop menu 'Lock' the page then click on ‘Edit’.
- Scroll down to the 'Content' panel.
- Highlight the text, which you want to become the link to the document.
TIP: Take note of the file size when you save it on your computer.
- Click on the world icon

- The file browser will appear.
- Open the 'files' folder.
- Scroll down to the file you uploaded and click on it.
- Click the button to create your link.
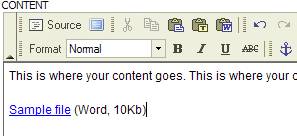
- You have created a link to your document.
- Add the size and document type following the file name.
- For example (Word, 10Kb)
- Click the 'Apply now' button and then 'Save'
Your new document link is now live.
12. Moving a Page to a different folder
- Find the page you want to move.
- In the drop menu, select 'Move'.
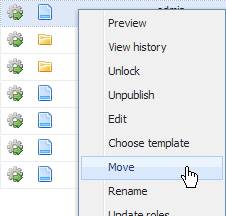
- The 'Move' window will appear.
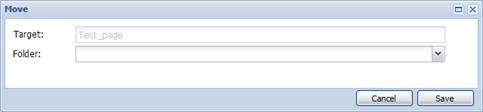
- Click the 'Folder:' drop down to open the 'Select a folder' window.
- Find the Folder you want to move your page to.
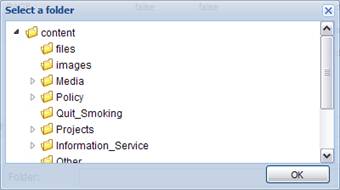
- Click on the folder.
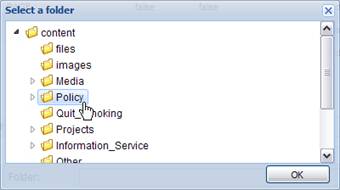
- Click 'OK' and then ‘Save’.
You have moved your page to the new folder.
13. How to Withdraw a Page
- Find the page you want to remove.
- Access the drop menu and select ‘Lock’.
- Access the drop menu again and select ‘Unpublish’.
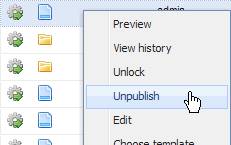
Your page has been withdrawn from your website.
14. How to Delete a Page
- Find the page you want to remove.
- Access the drop menu and select ‘Lock’.
- Access the drop menu again and select ‘Delete’.
- Your page will be moved to the trash folder.
Your page has been deleted from your website.